Proper Cut Care
PROPER CUT CARE
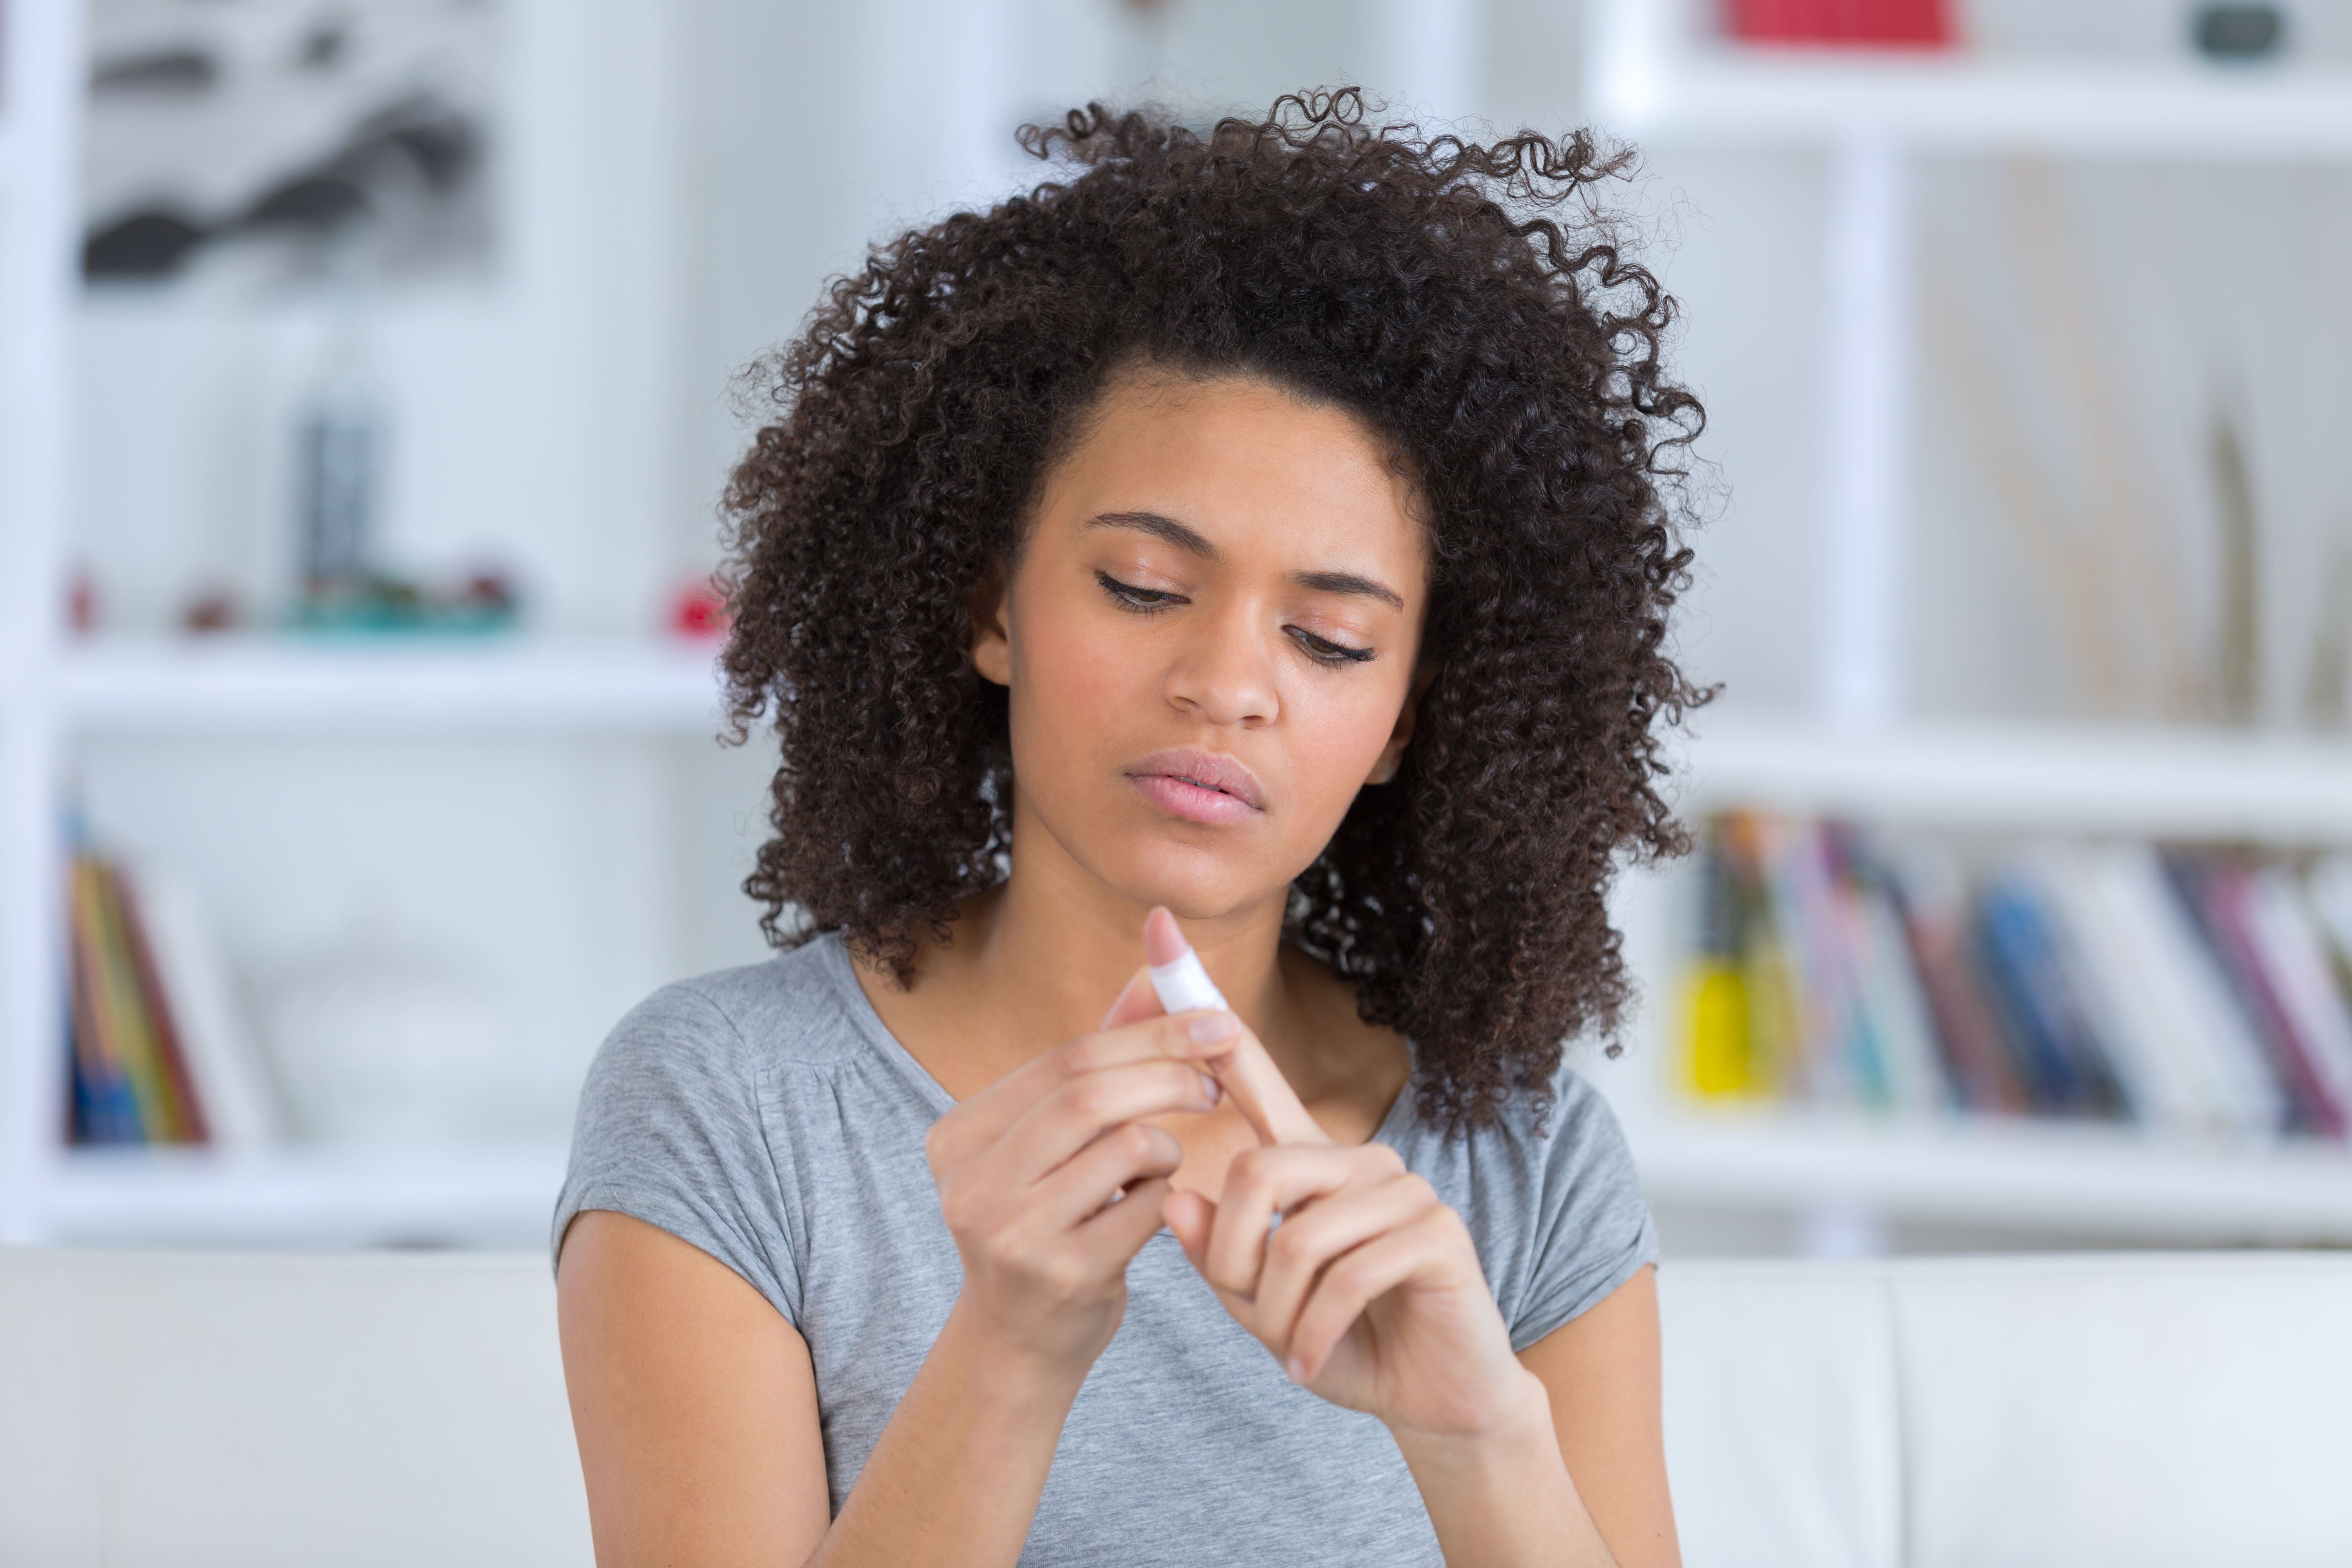
While there are many ways to cut your finger, there is only one “best” way to care for it.
Properly performing each step, from controlling bleeding to applying the bandage is important to reduce pain,
prevent further injury, minimize the risk of infection, & reduce scarring.
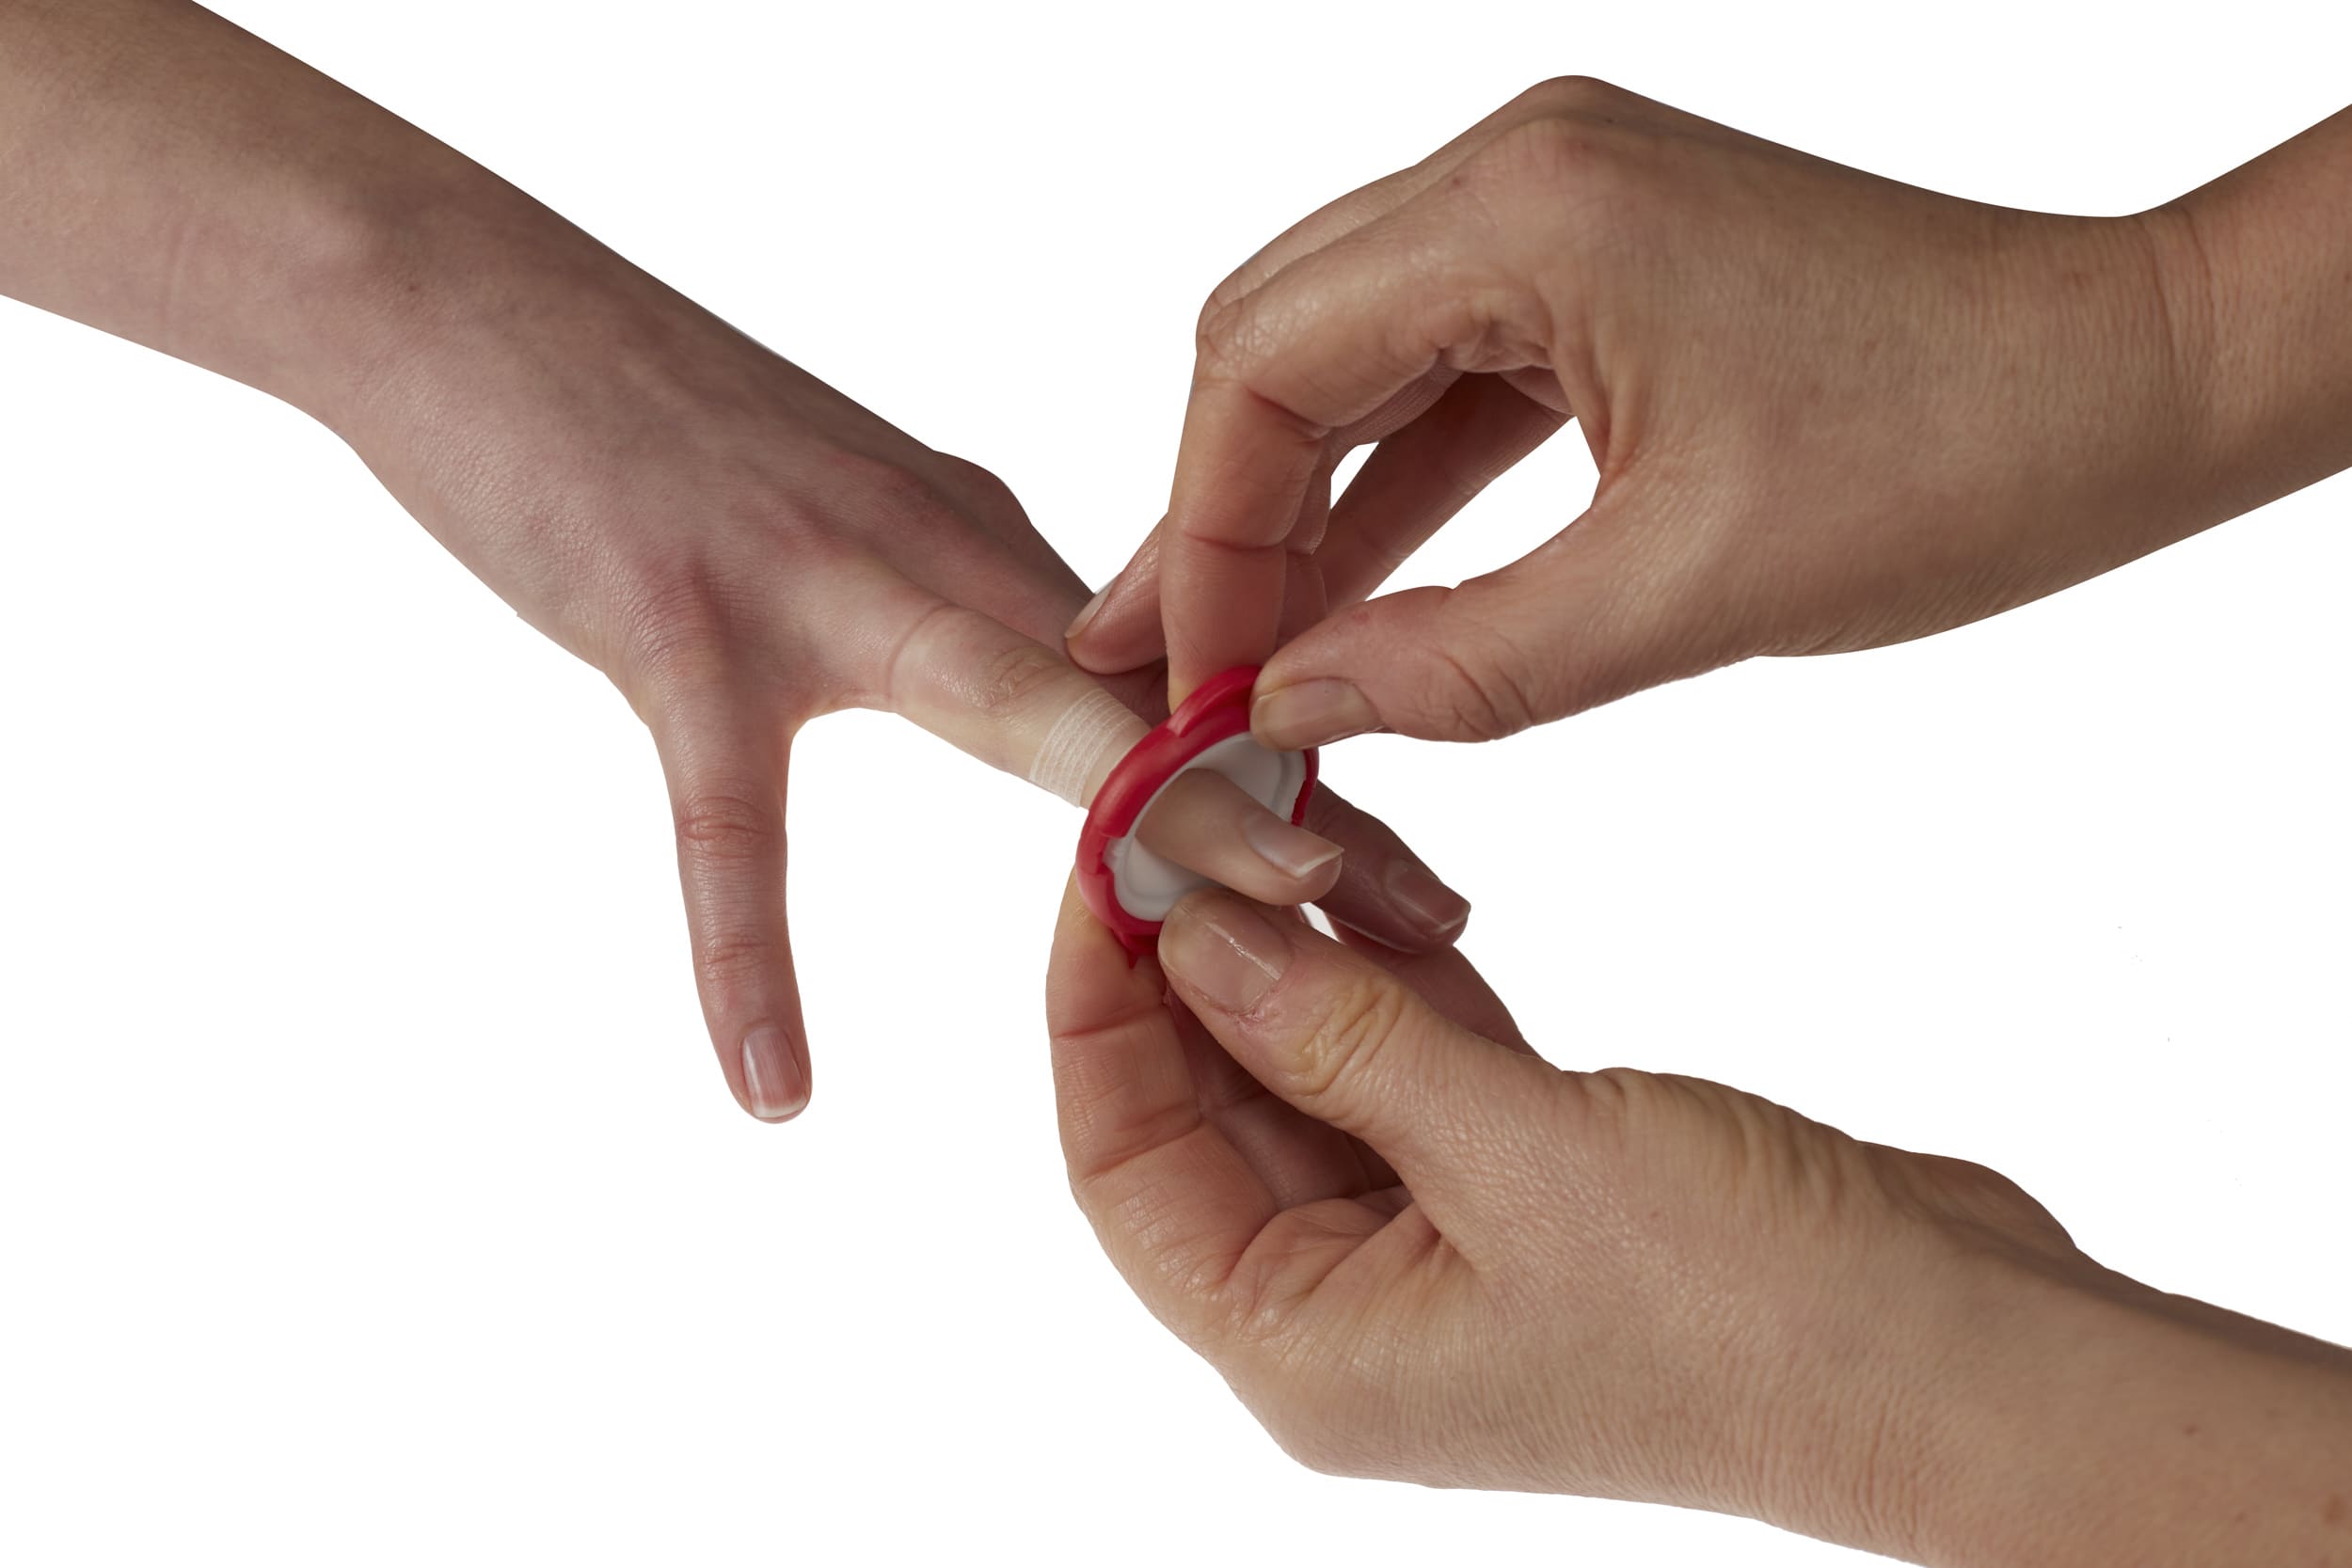
Step 1: Control bleeding
While the common practice of applying pressure directly to a cut can be effective, it is painful & may cause additional injury. Kitchen towels, clothes and dirty rags are frequently used, increasing the chance of contamination and infection.
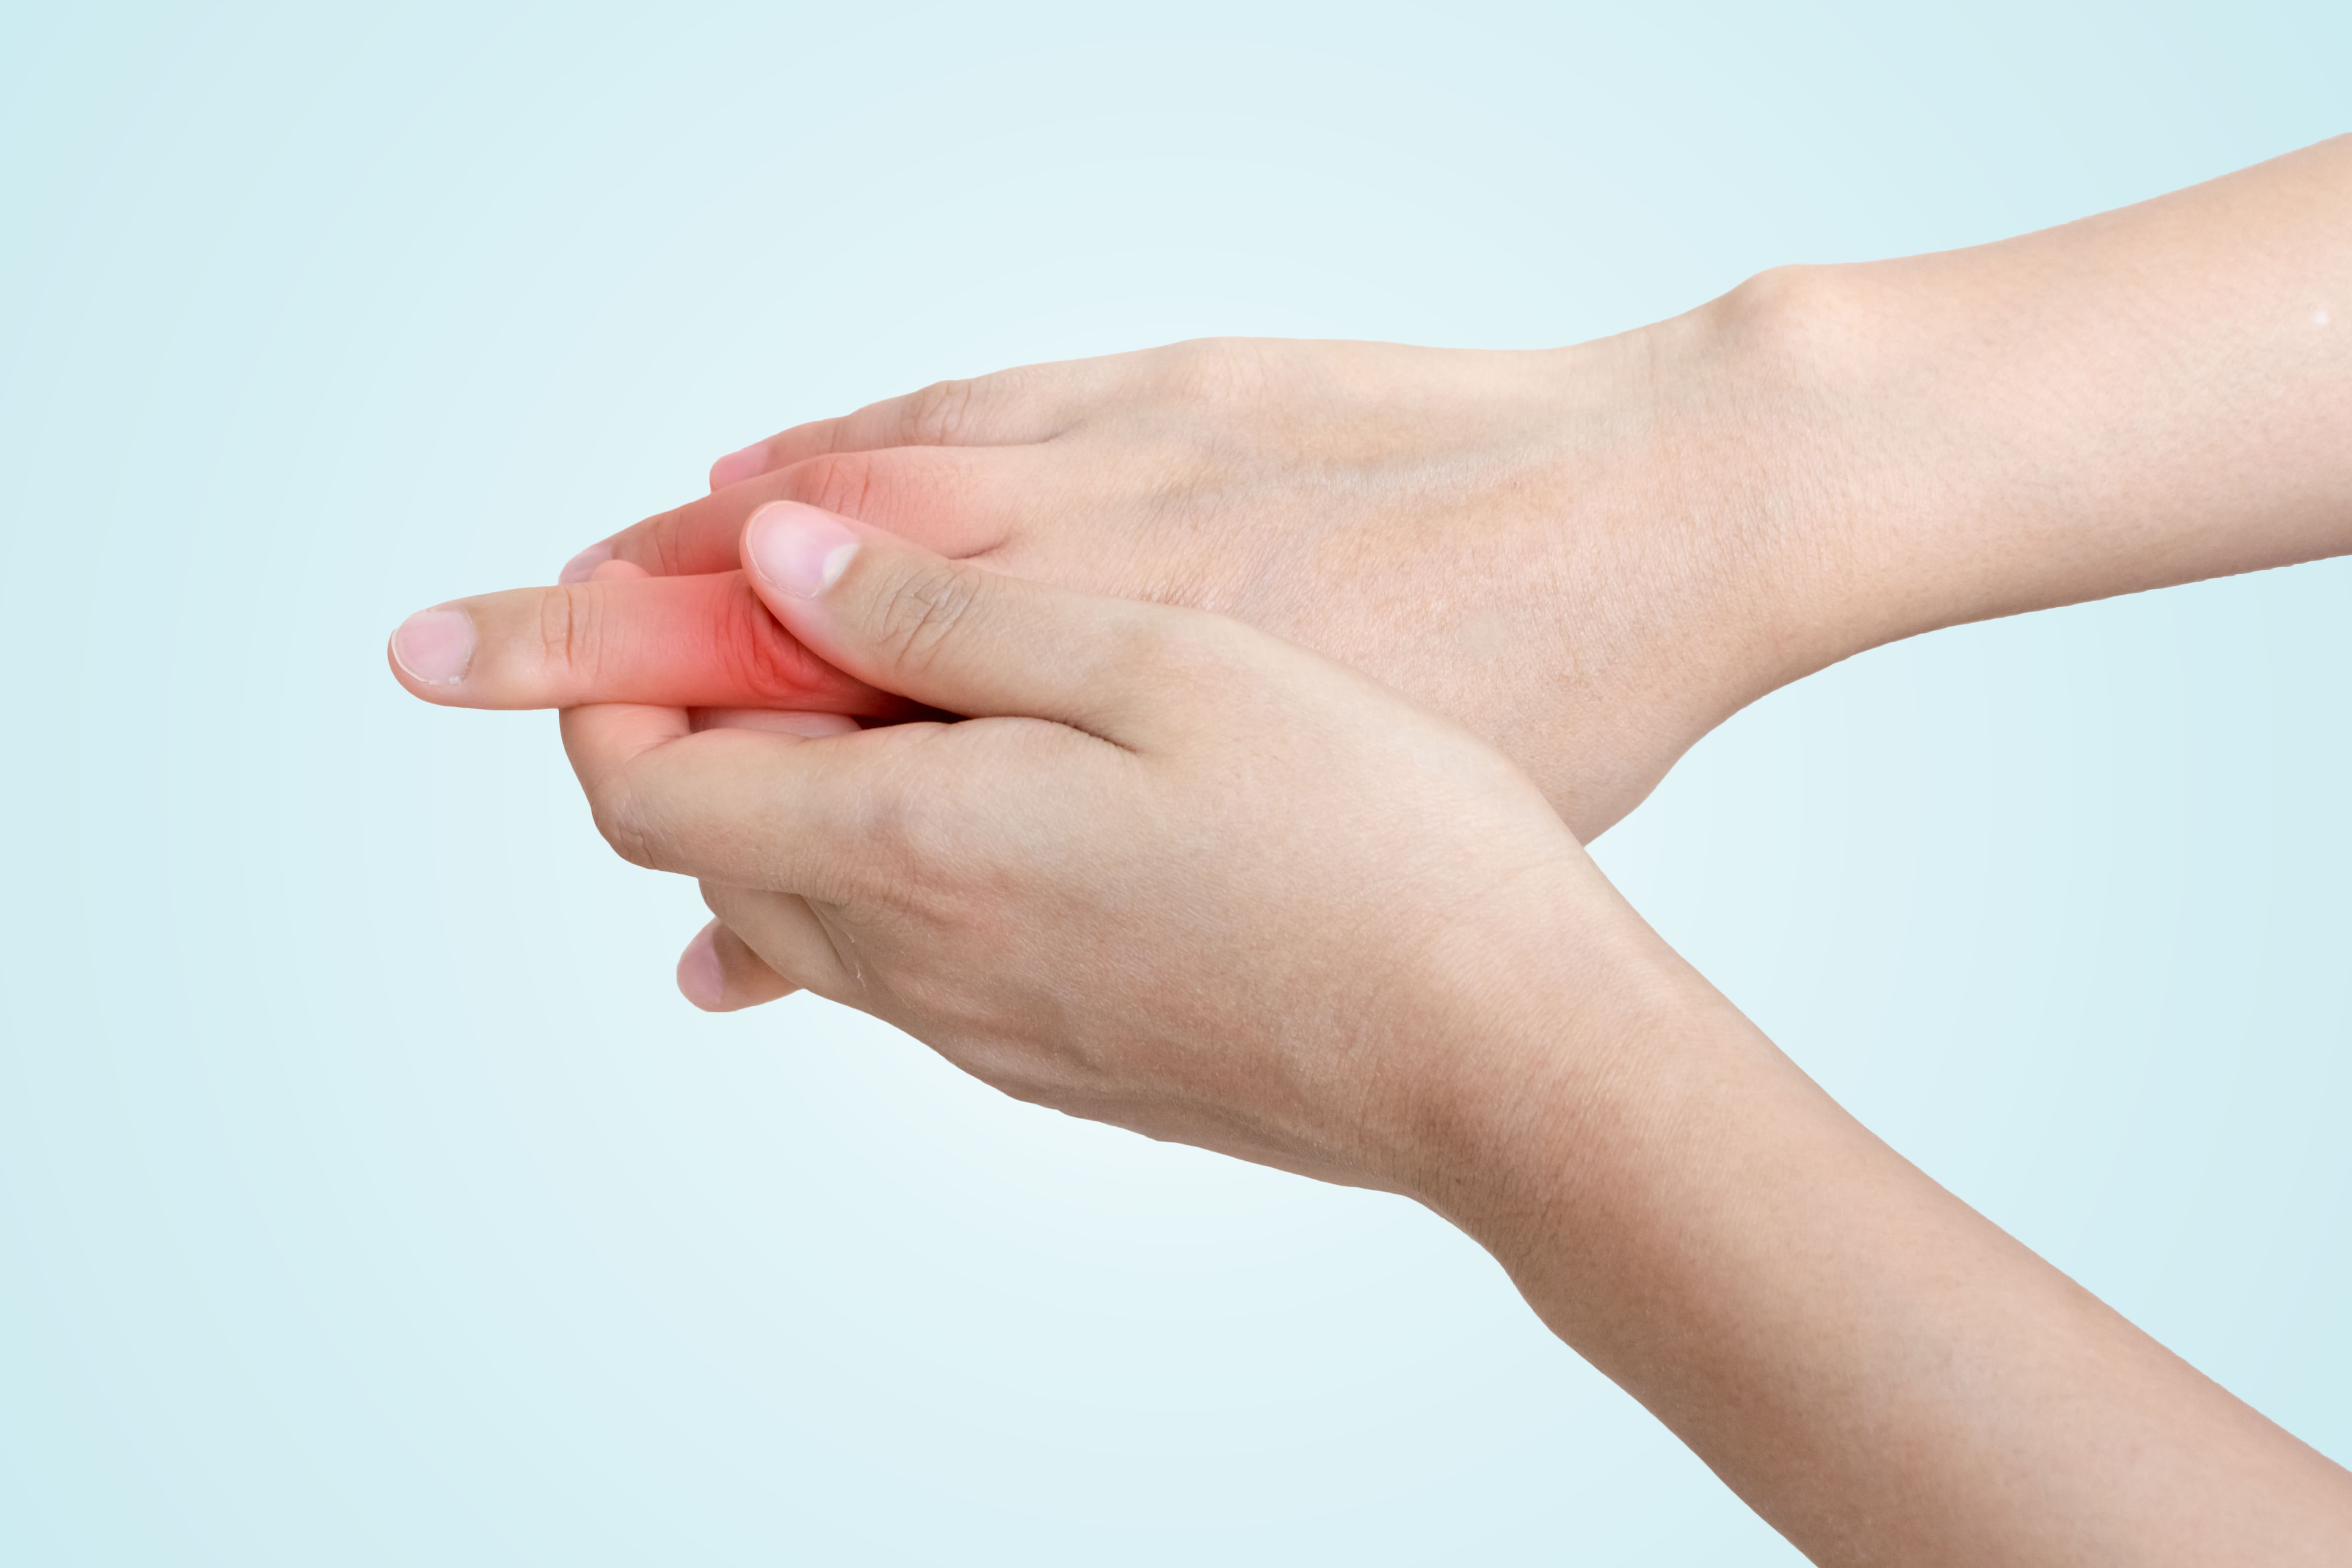

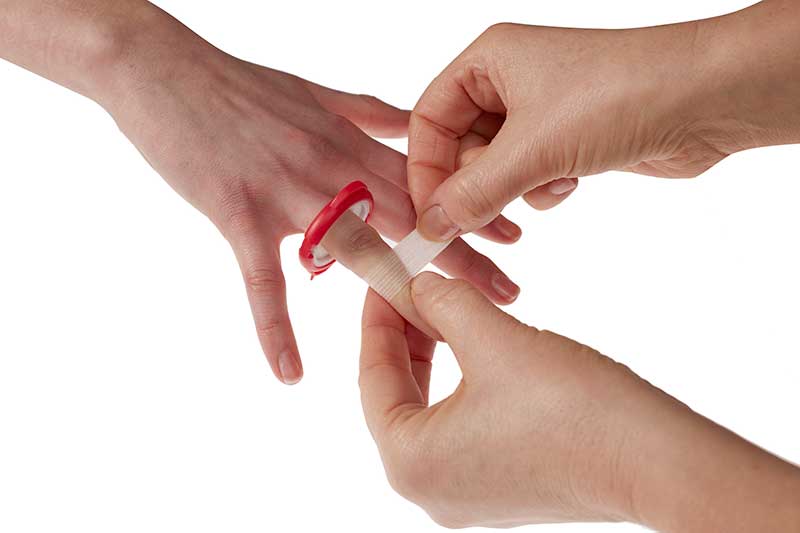
Control bleeding with the T-Ring
Simply slide the One-Size-Fits-All T-Ring to the base of the finger. The revolutionary T-Ring immediately stops bleeding while avoiding any pressure to the cut, minimizing pain and the risk of injury or contamination.
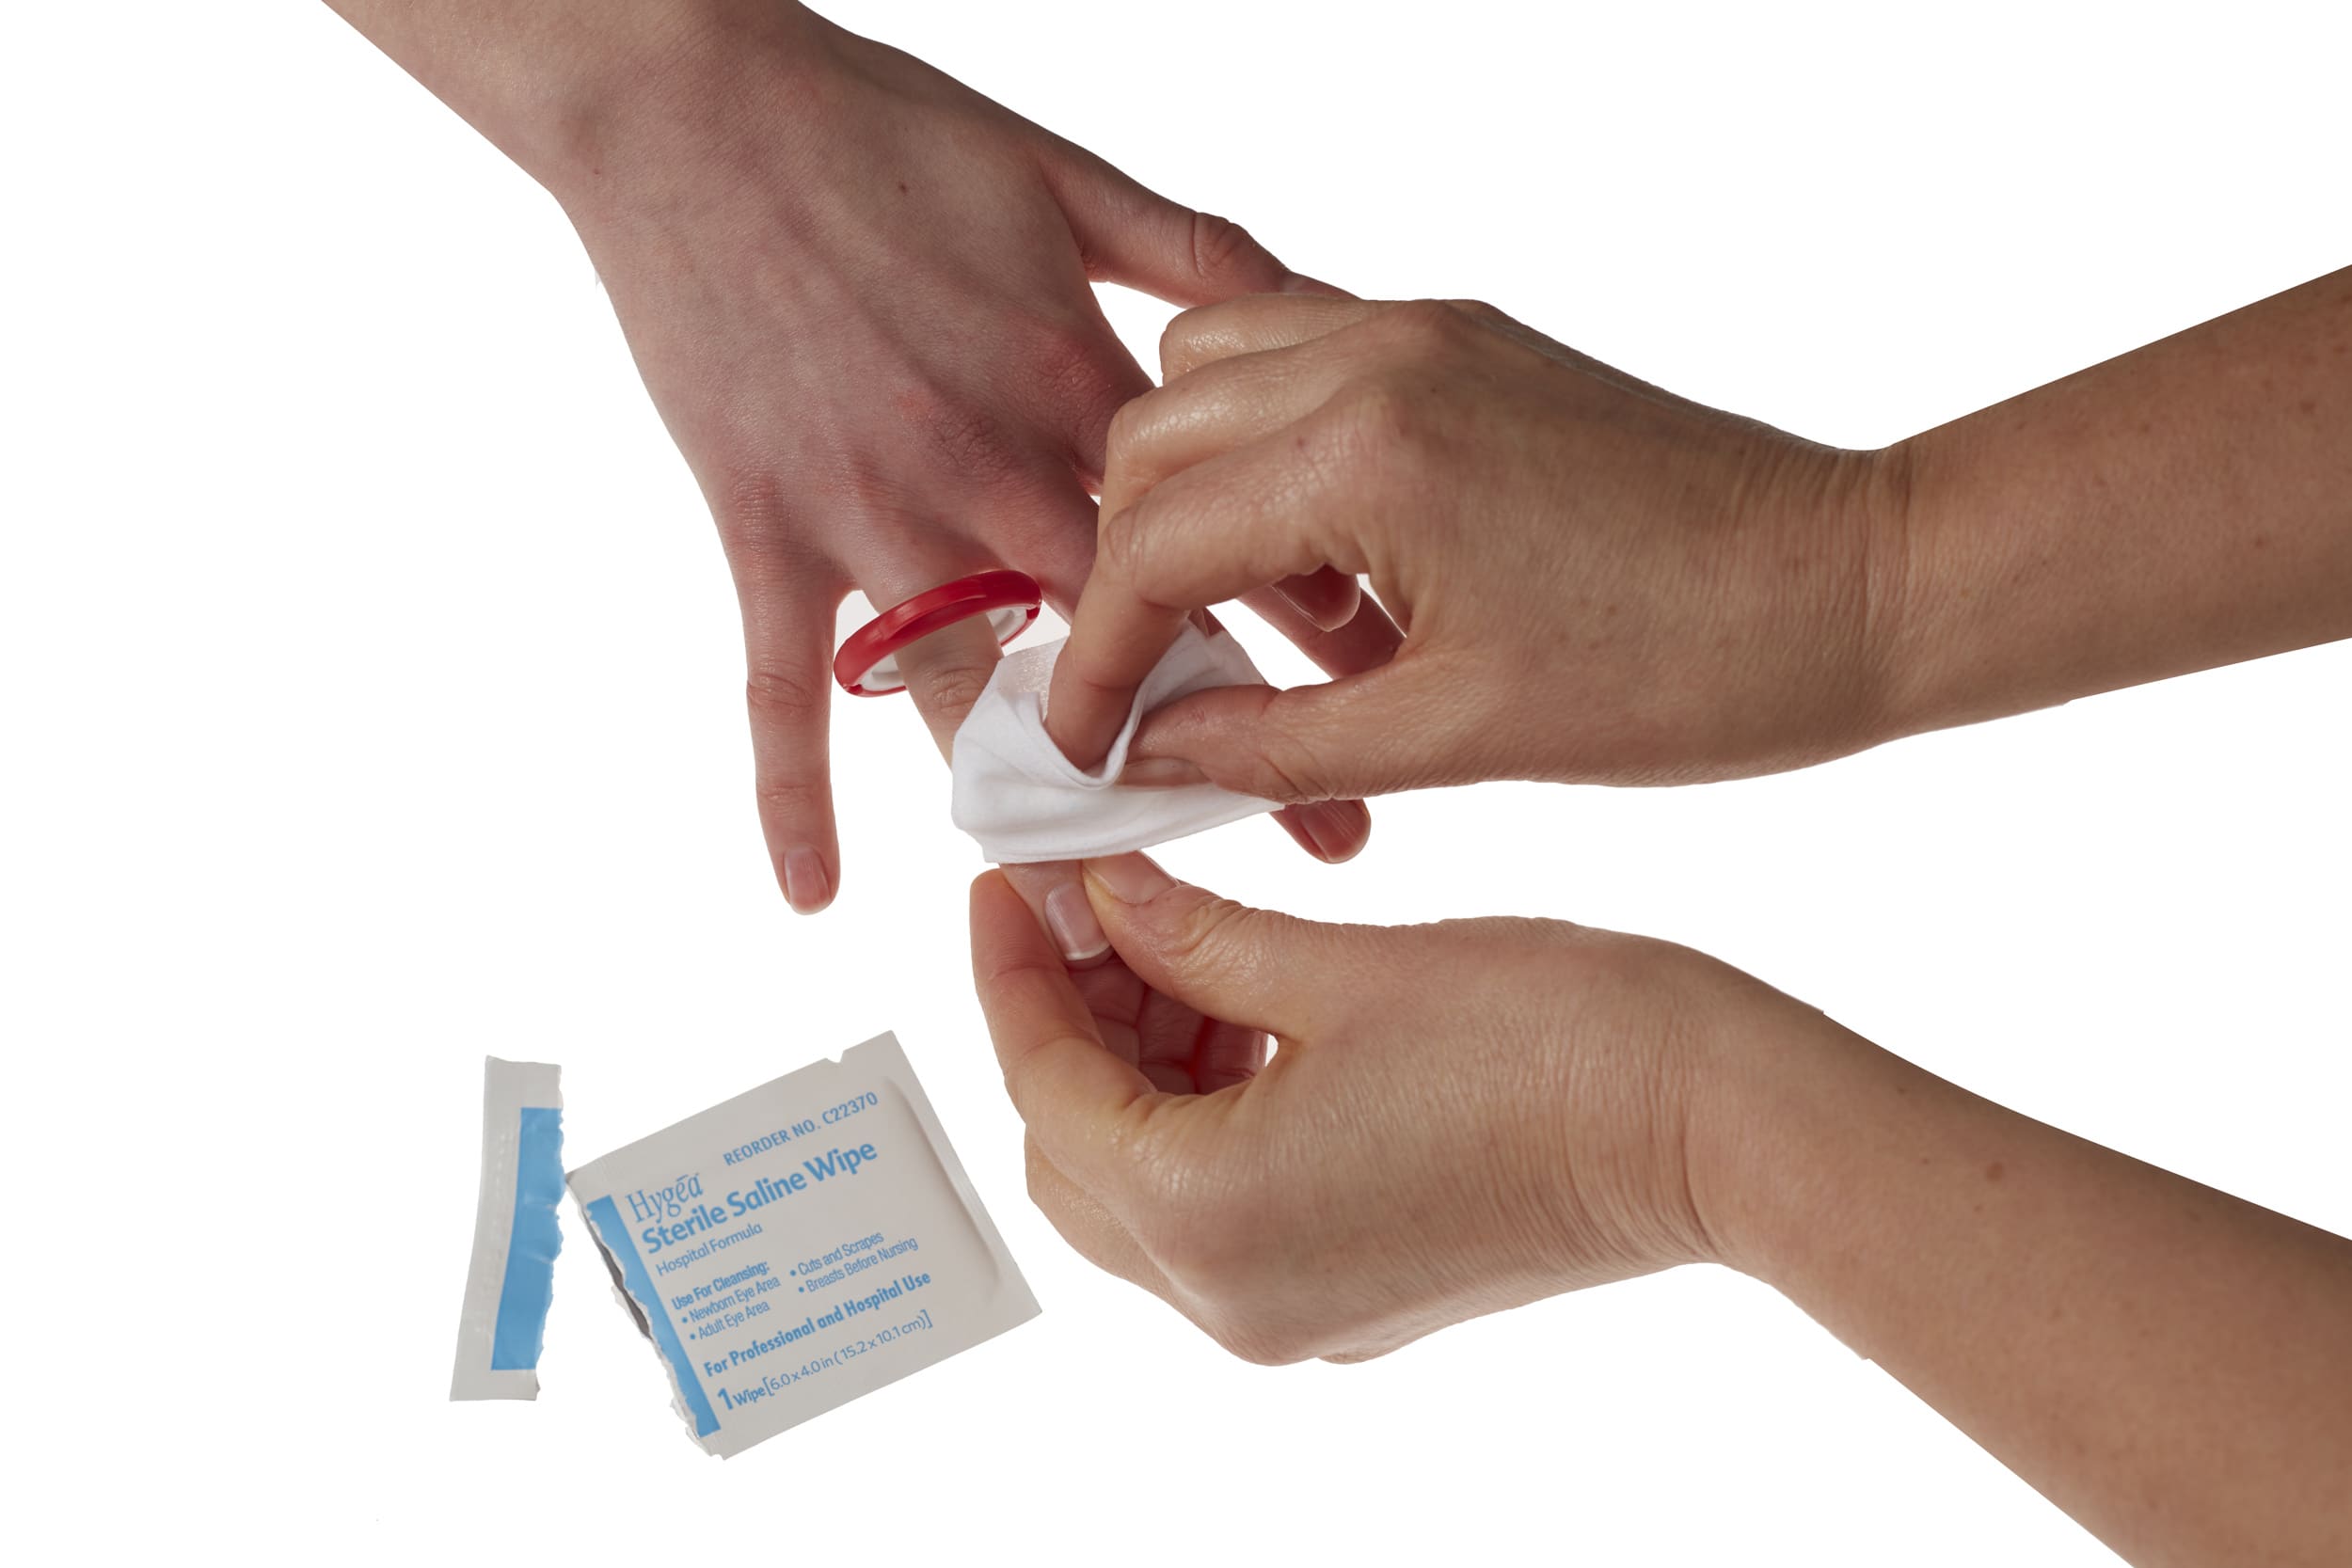
Step 2: Clean the wound
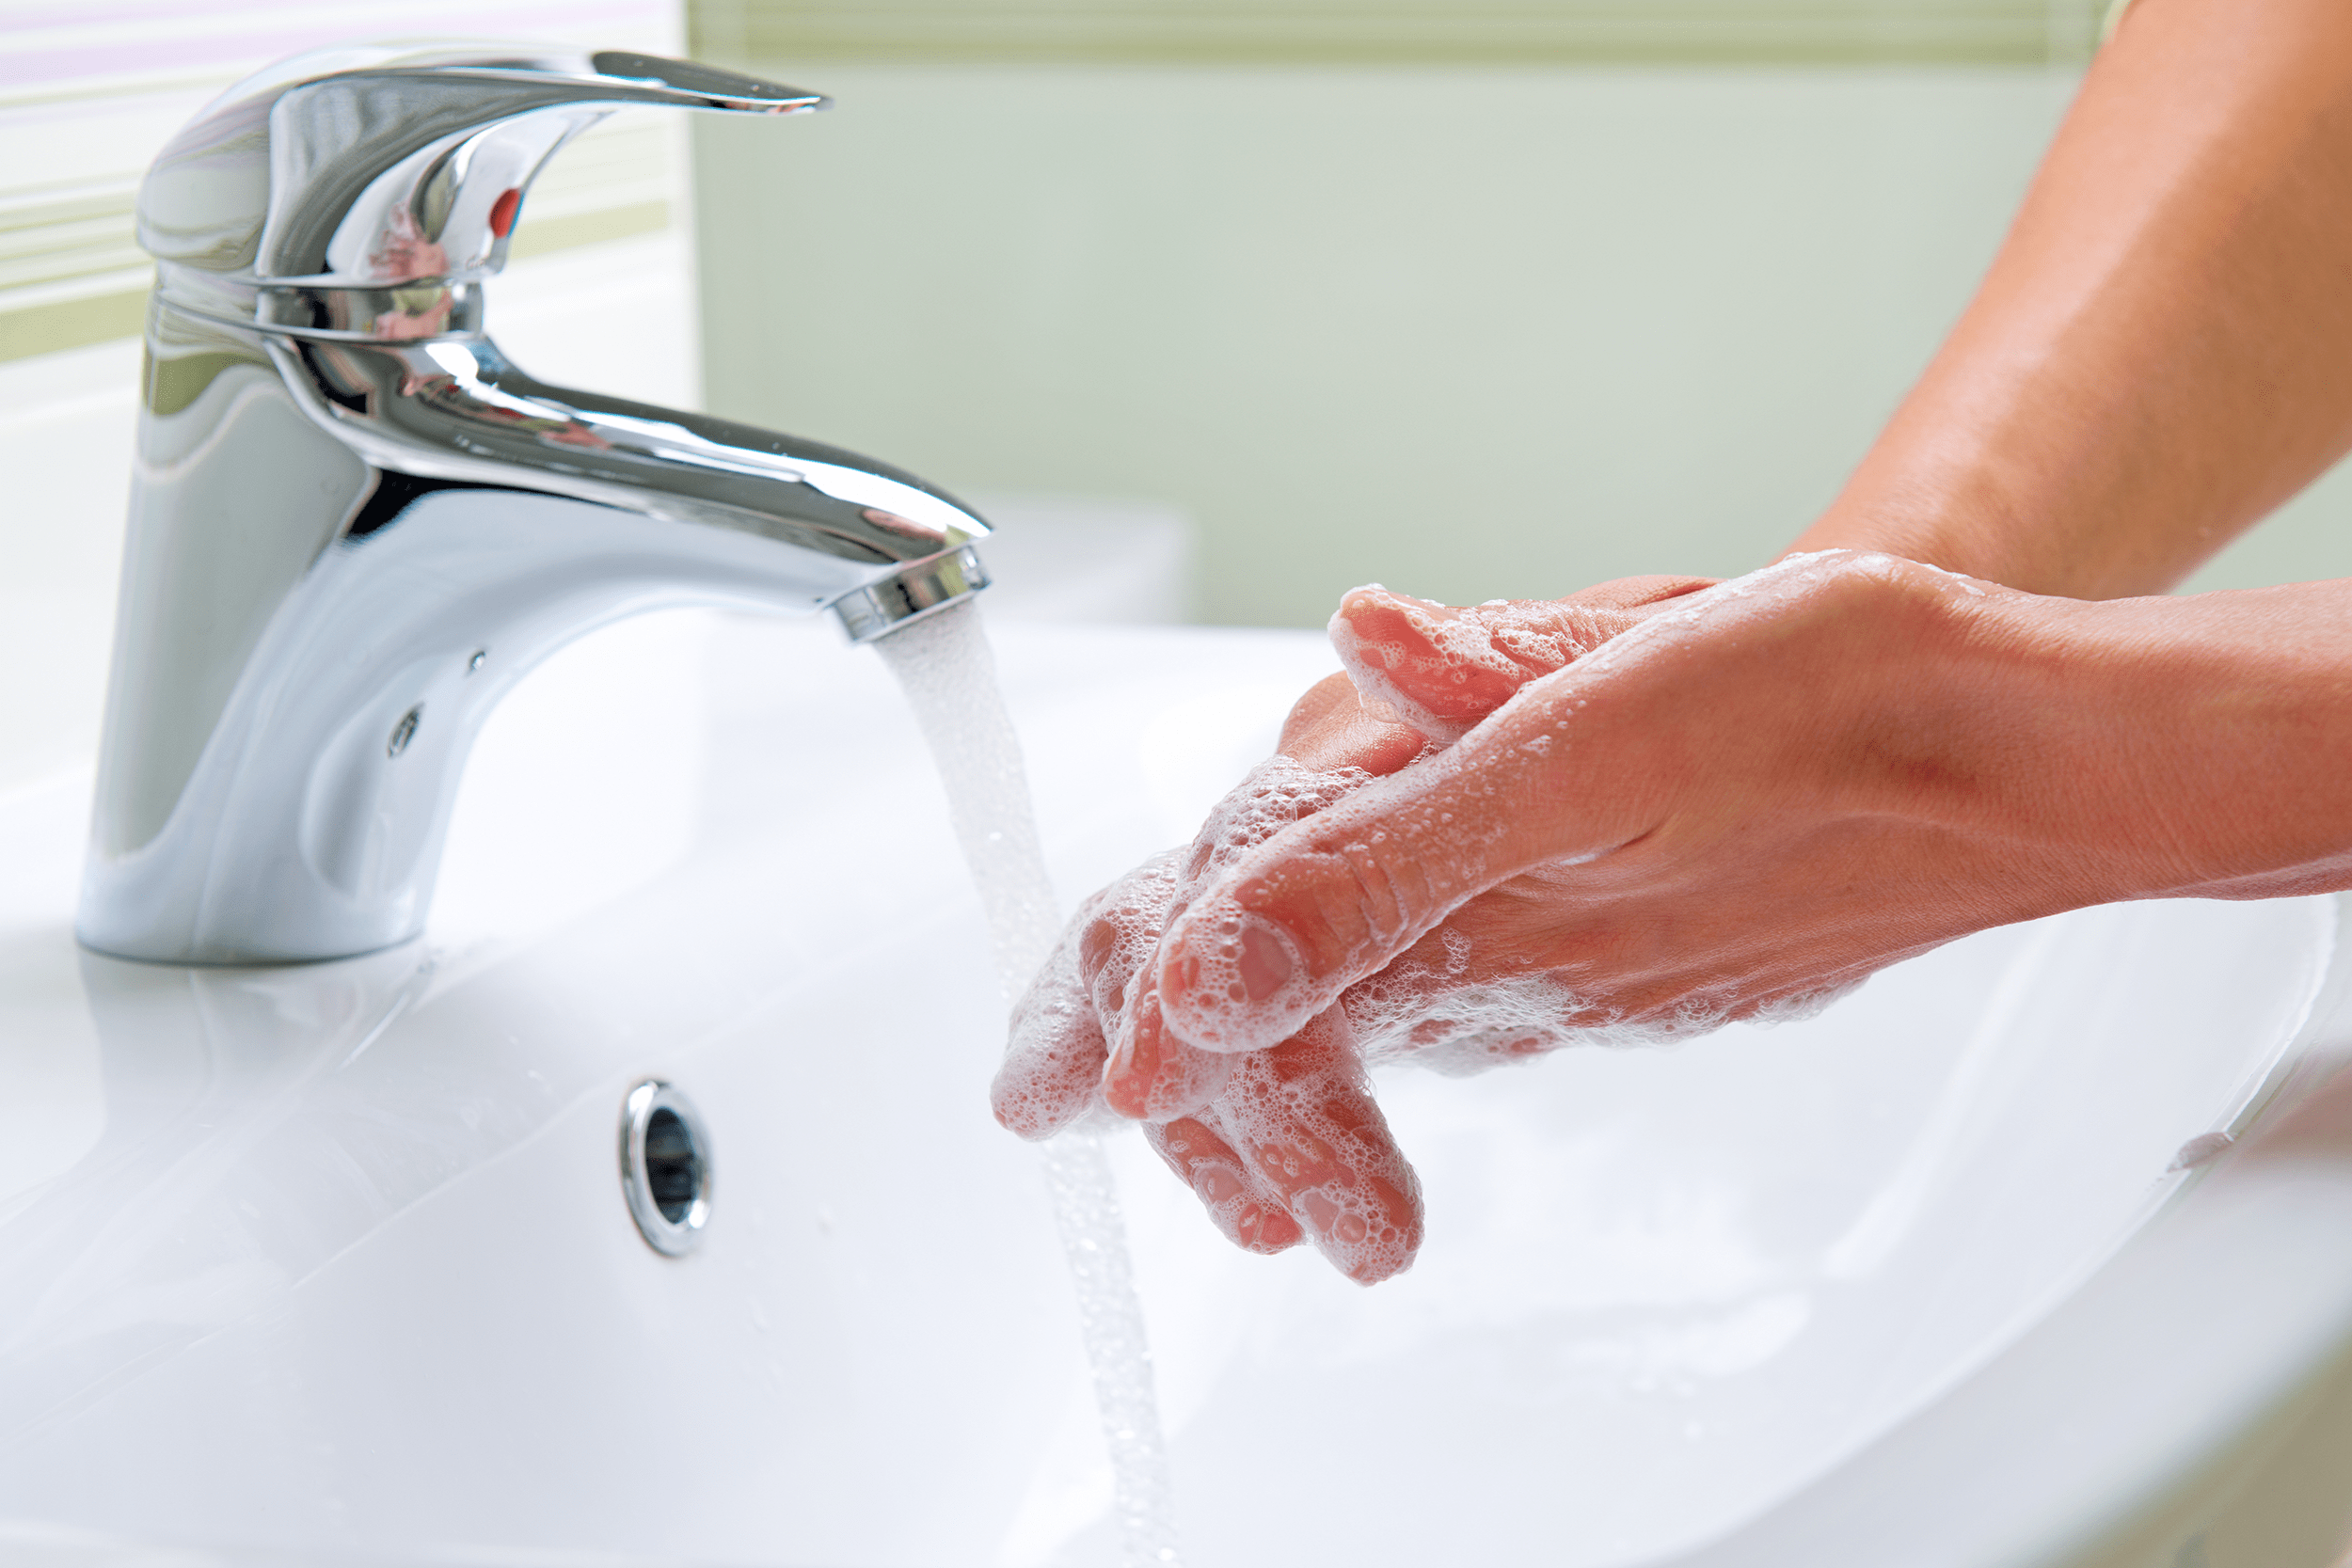
Thorough wound cleansing is the most important part of proper cut care:
- Wipe away any debris with sterile wipe
- Wash well with soap & water
- Dry with gauze


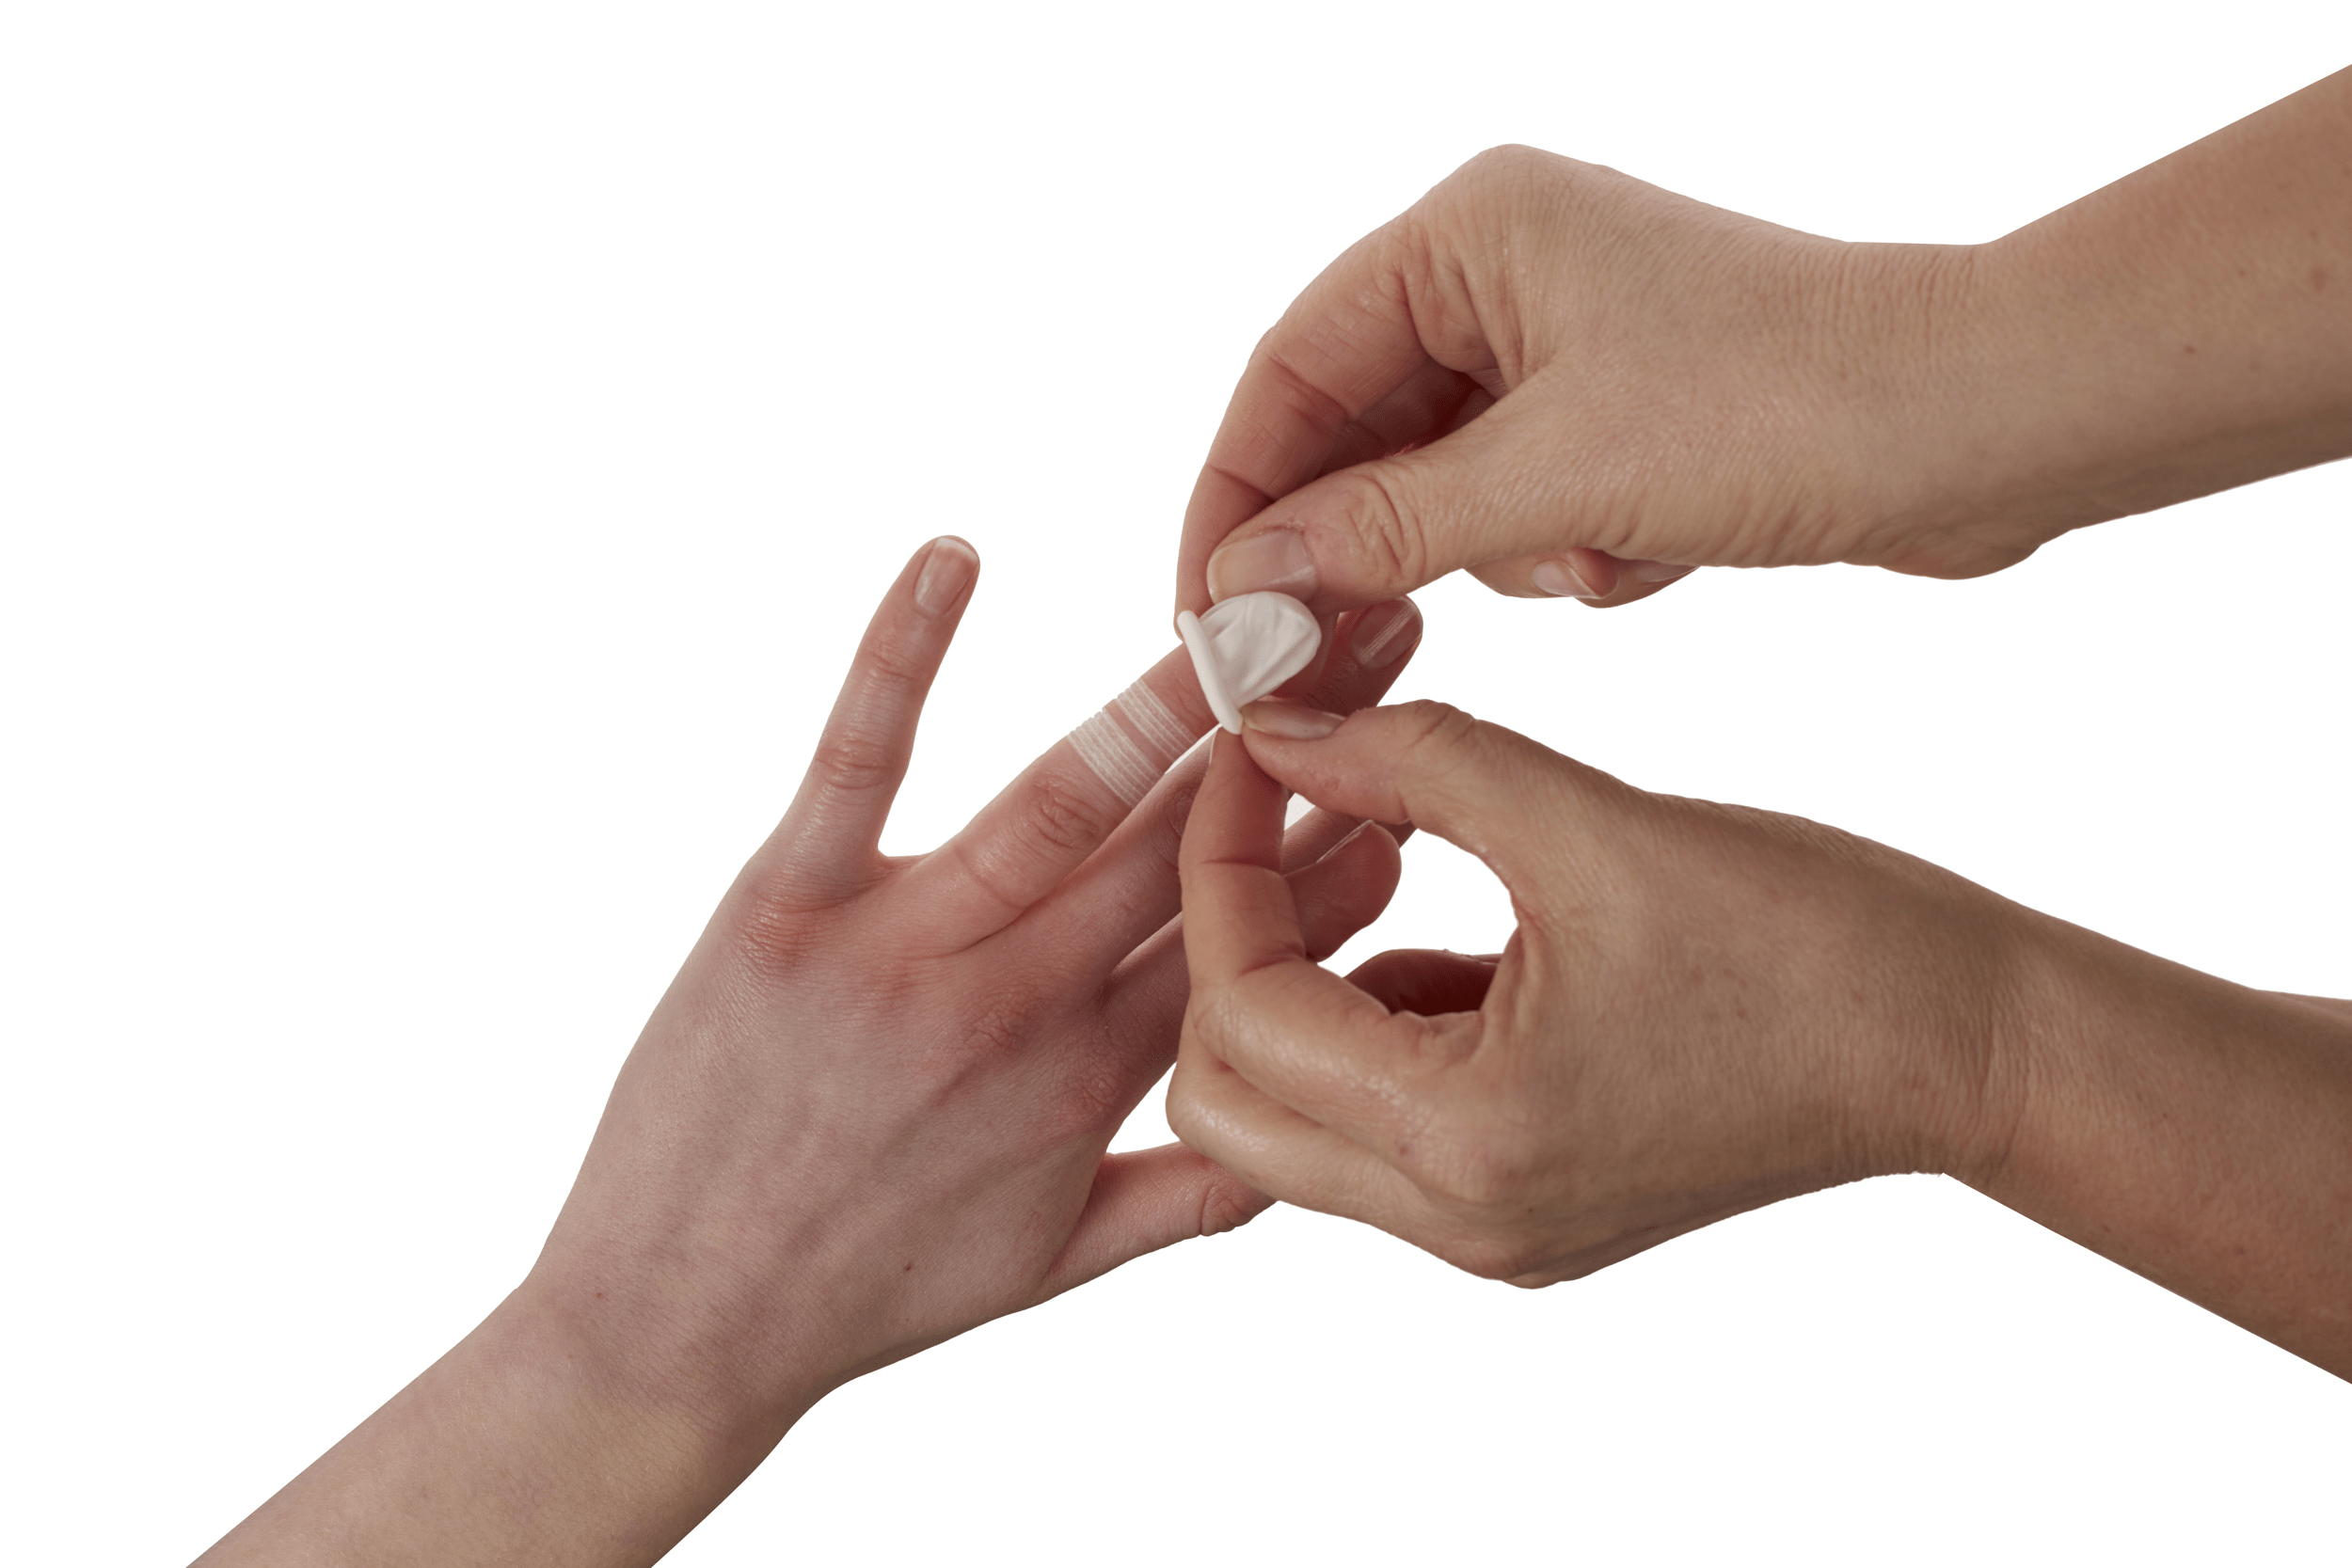
Step 3: Close the wound
- A wound that is properly closed prevents dirt and bacteria from entering the wound, reducing the chance of infection.
- If the cut is clear of any foreign material and the finger functions normally, use the wound strips to close the wound. Apply one end of strip to one side of wound, then gently pull across the wound to pull edges together. Adhere strip to the other side. Use additional strips as needed.
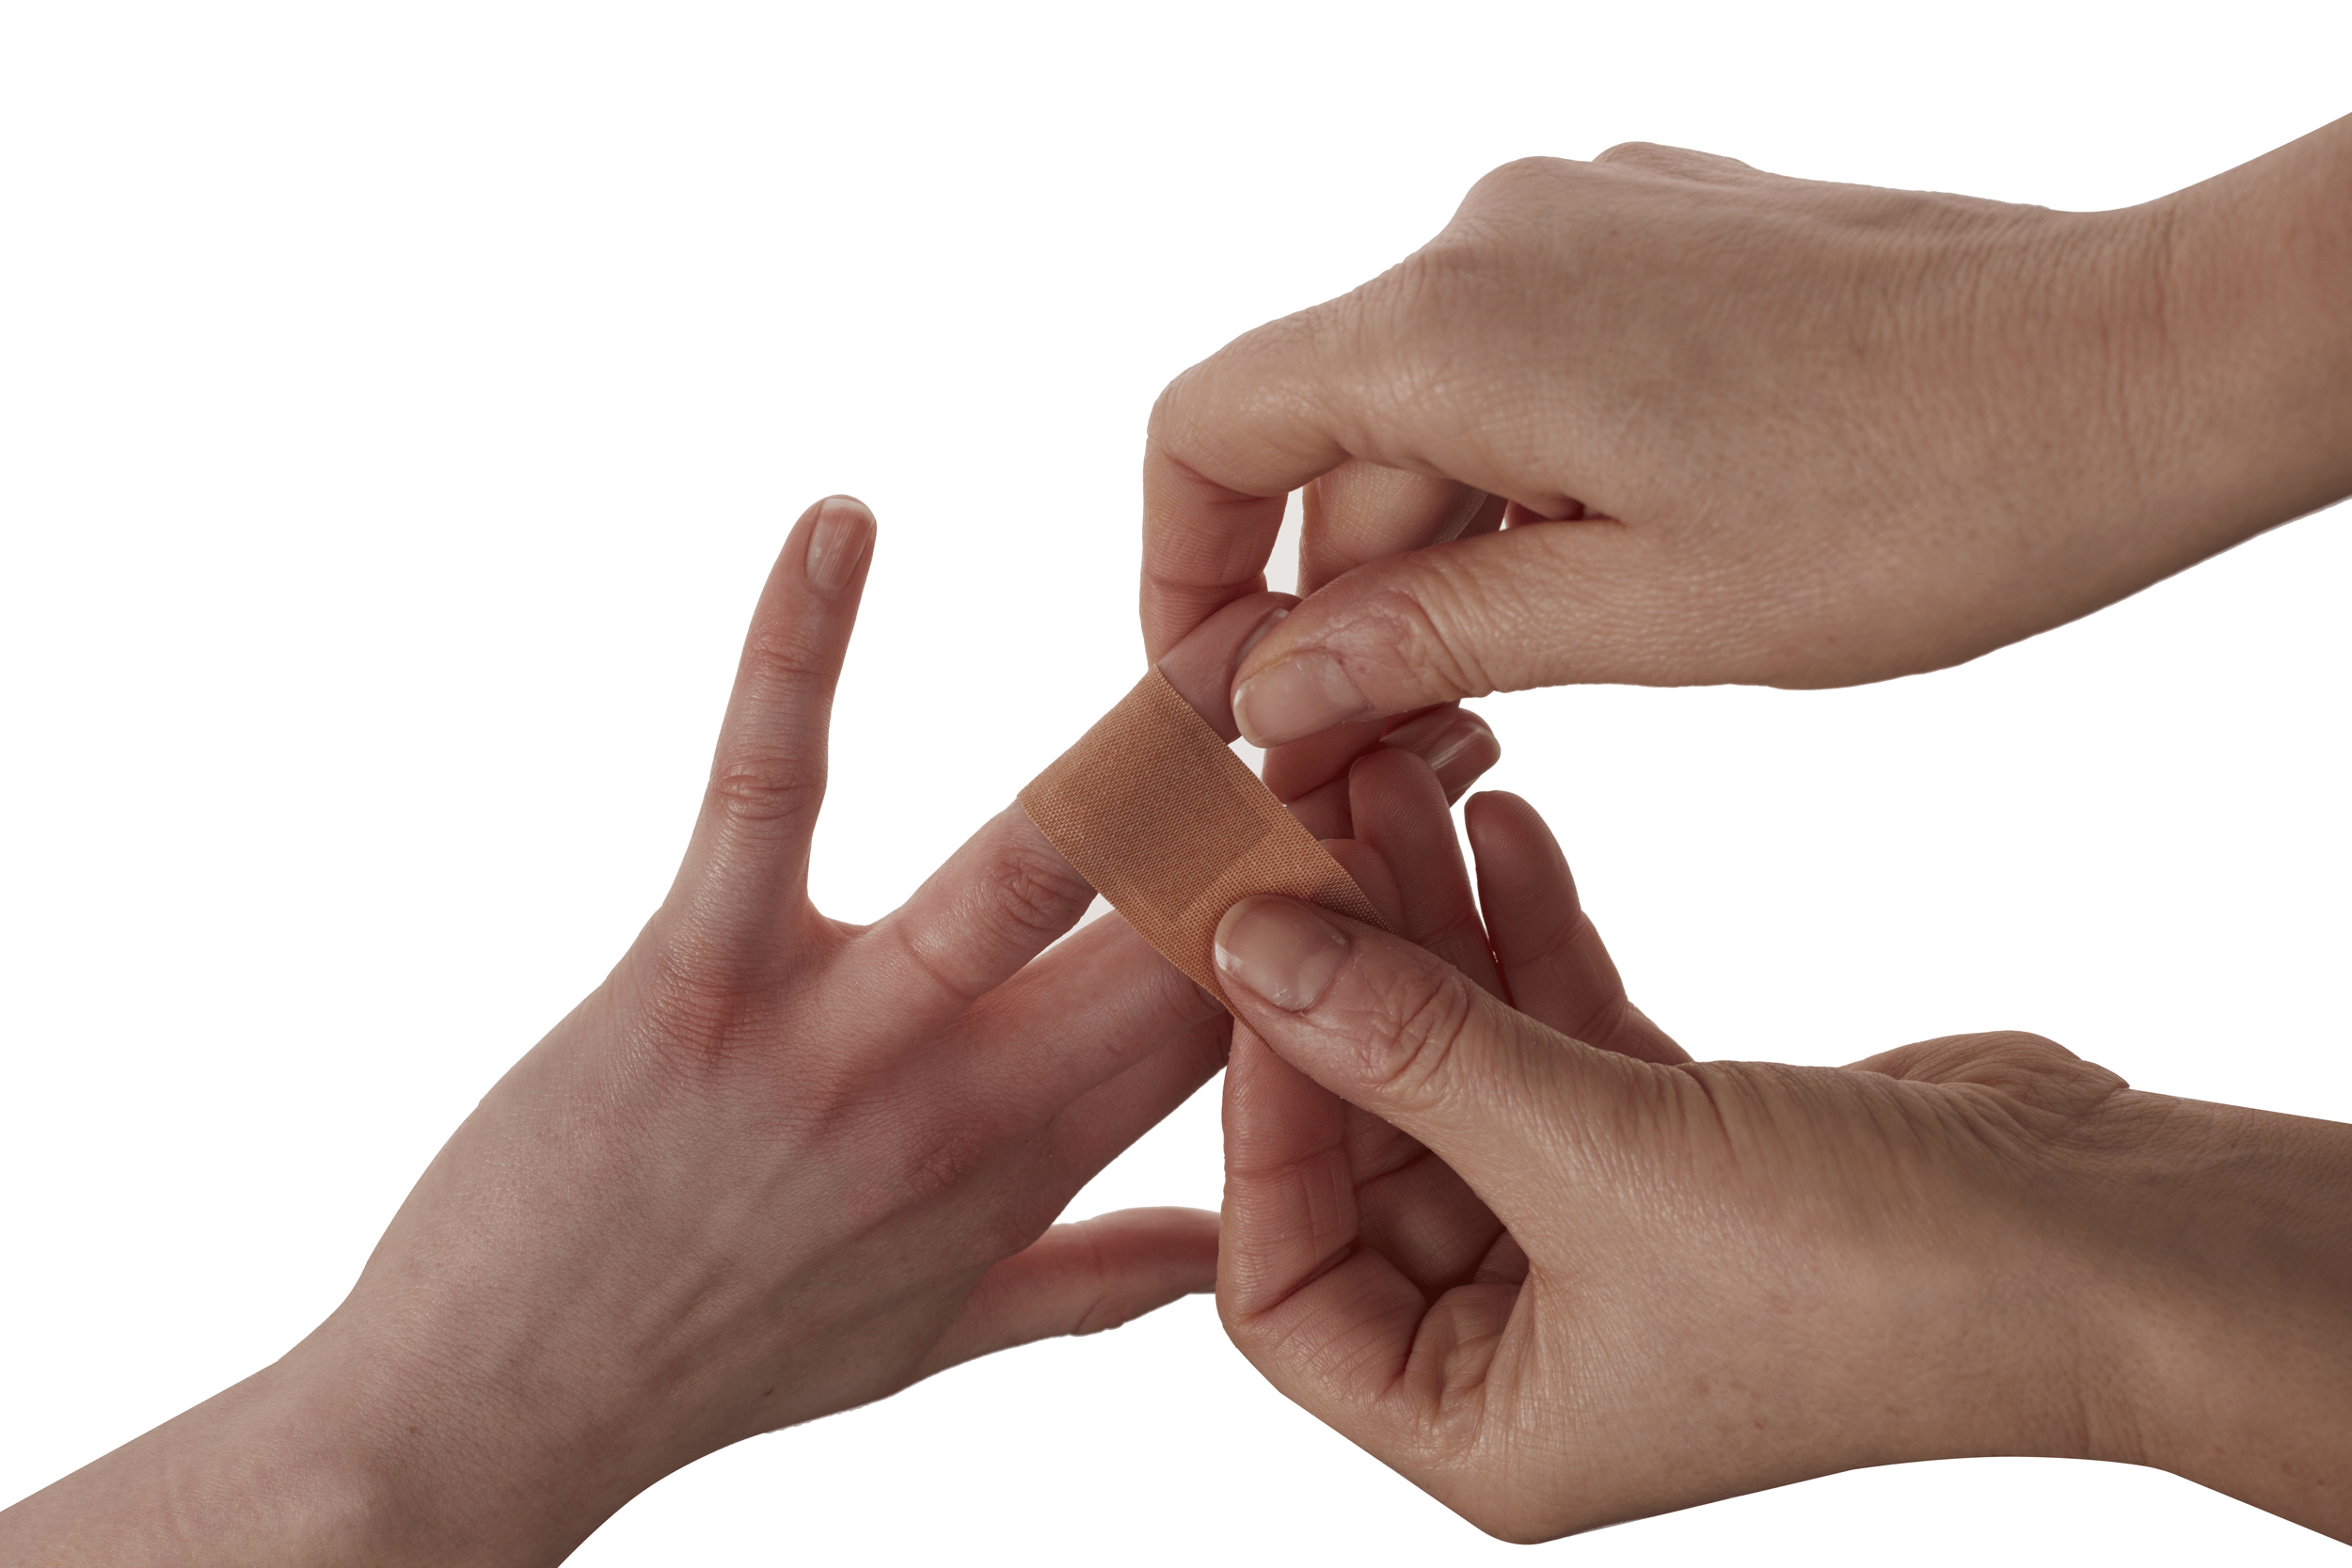
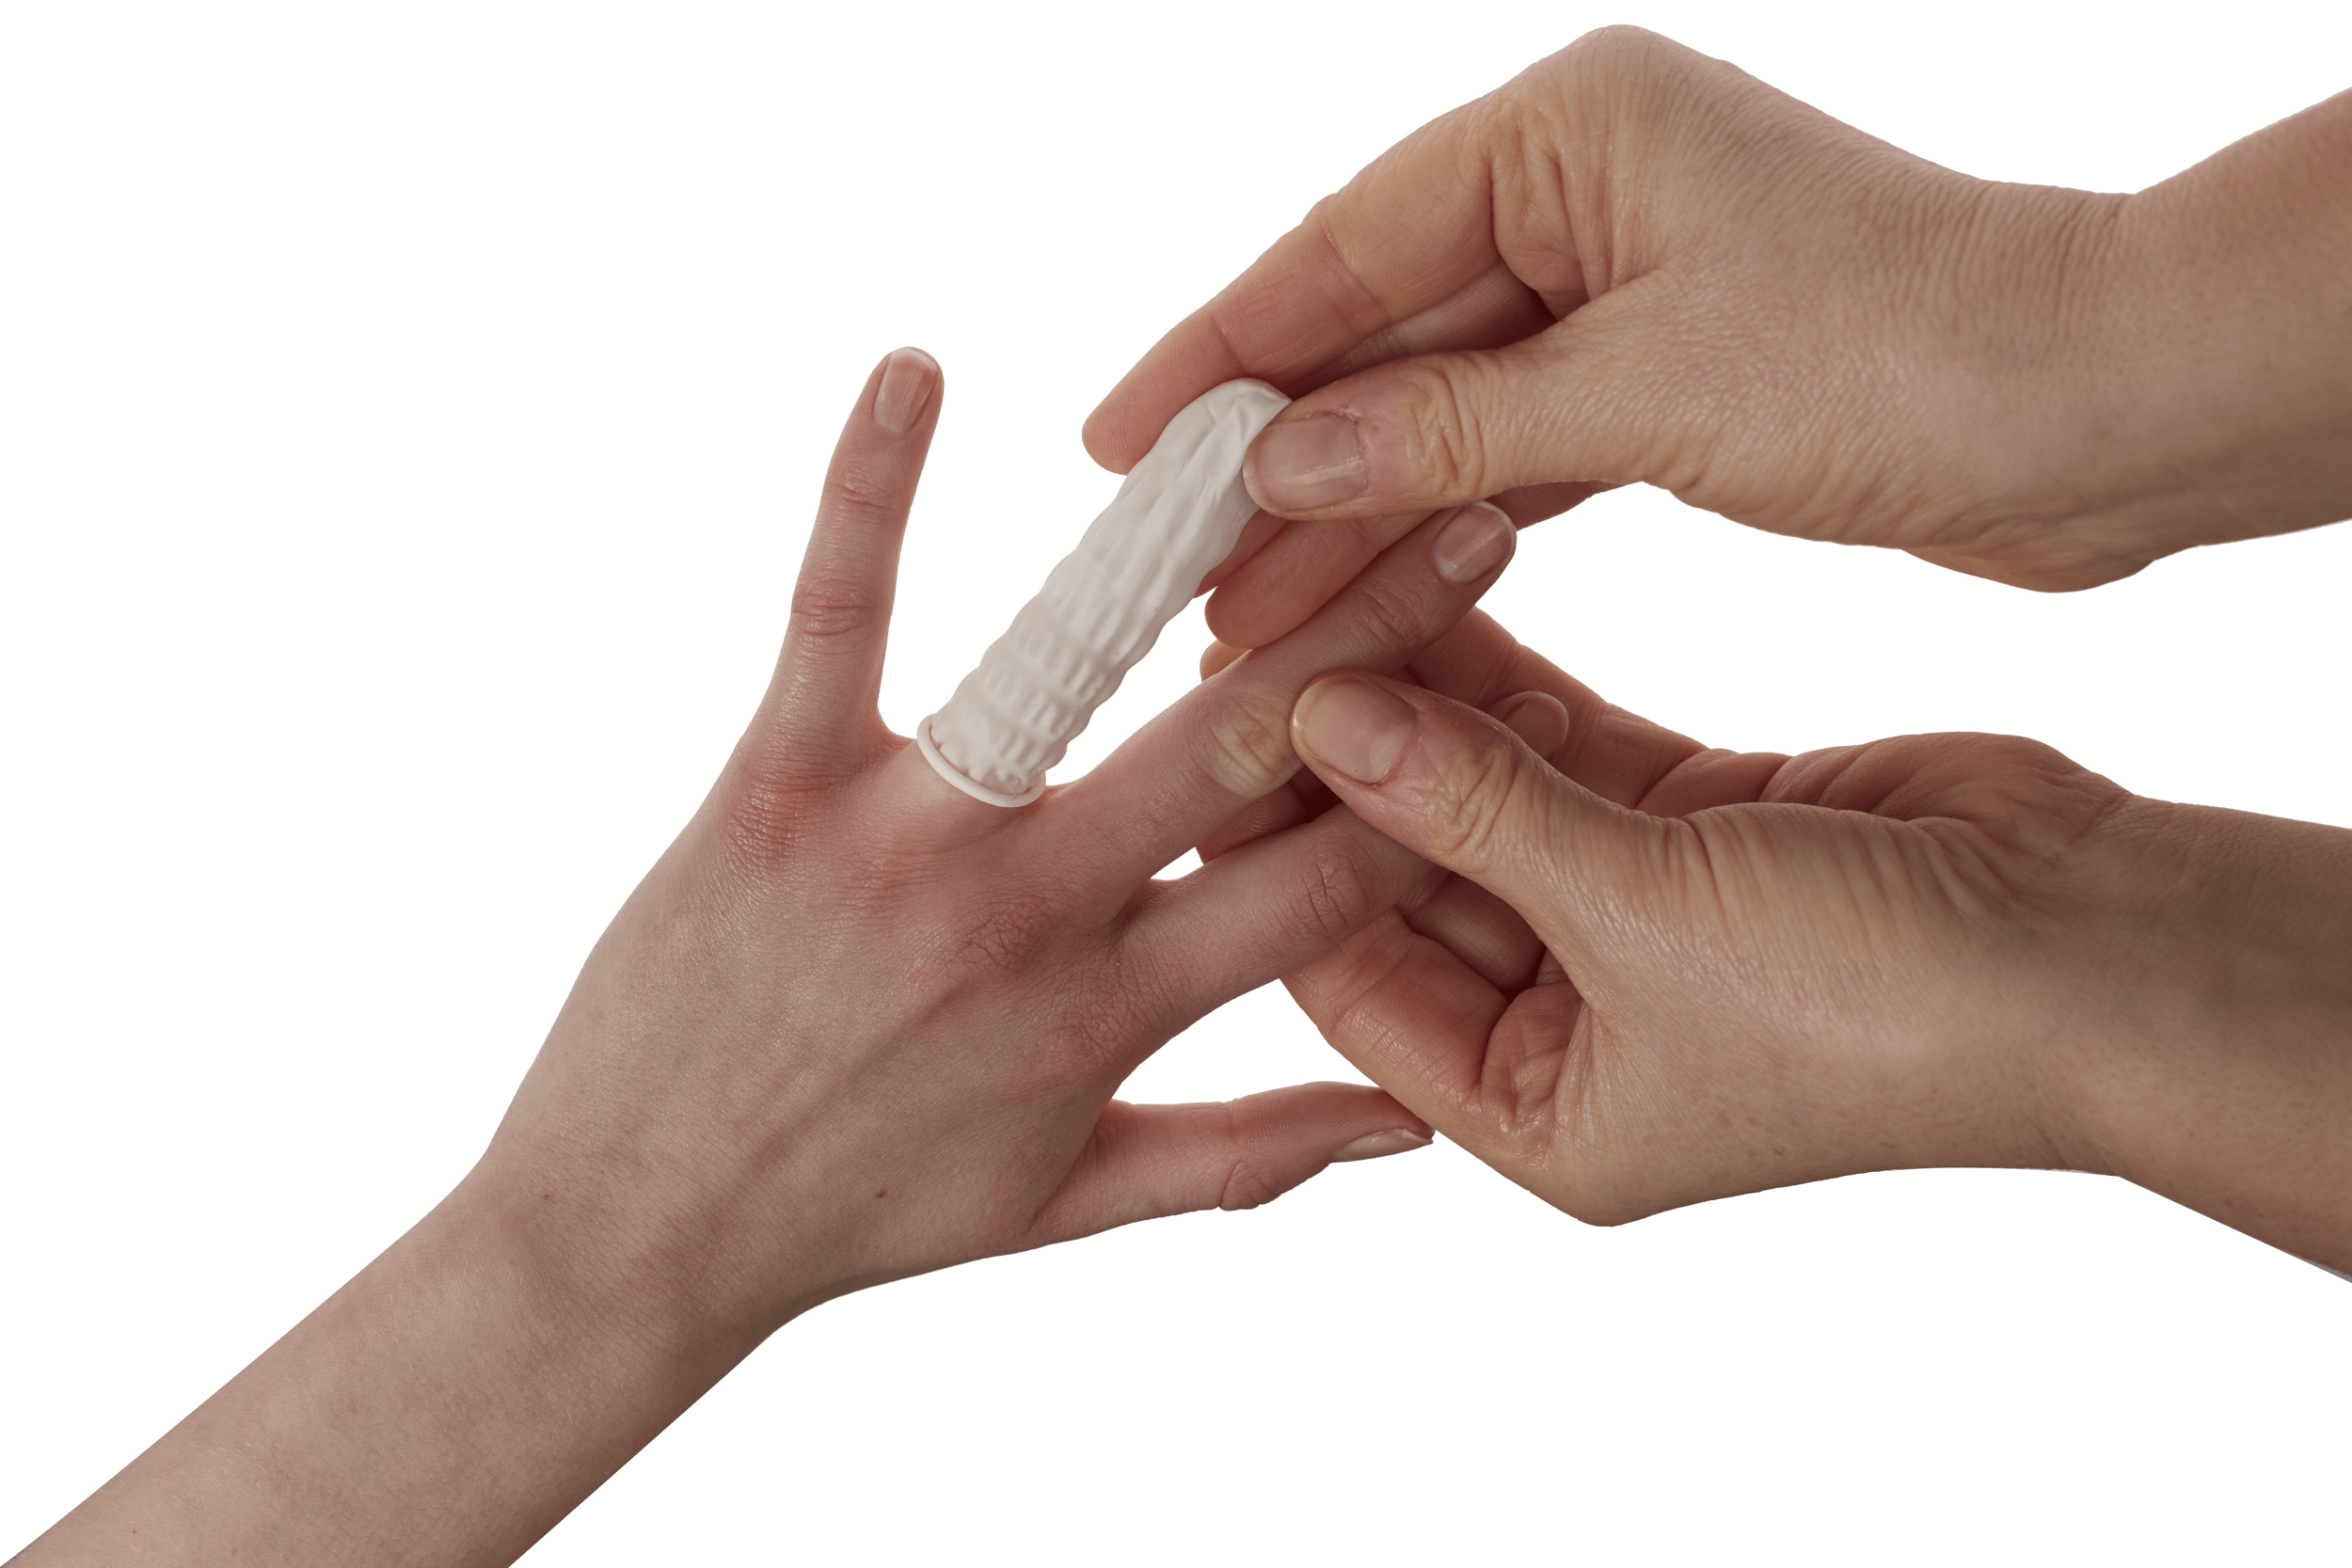
Step 4: Finish up
- Remove the T-RING
- Apply Bandage
- Keep wound dry for the next 3-5 days. Apply the Finger Cut Kit Shower Shield over bandage when bathing.
- Keep wound clean until healed. Change bandage every 1-2 days, checking for any sign of infection (redness, swelling, or colored drainage). Consult a physician for infection, or if you experience any finger numbness or weakness.